
How to Use a Belt Sander Like a Pro
If you’re new to the world of DIY projects or woodworking, a belt sander can be a heavy-duty tool to achieve smooth and polished surfaces on various materials. Whether you’re refinishing furniture, working on home improvement tasks, or engaging in creative crafts, understanding the proper usage of a belt sander is essential for achieving excellent results.
In this article, we will take you through the fundamentals of belt sanders, step-by-step instructions on how to operate one safely and effectively, and useful tips to tackle various sanding tasks. We’ll cover everything from choosing the right sandpaper grit to handling different types of materials and ensuring precision in your work.
But before we dive in, safety is our top priority. We’ll start by highlighting the necessary precautions and protective gear to ensure your well-being throughout the sanding process. So, let’s get started on this exciting journey of mastering the art of using a belt sander!
Safety Precautions and Gear
When using a belt sander, your safety should always come first. Before you start any sanding project, it’s crucial to take the necessary precautions and wear appropriate personal protective equipment (PPE). Here’s a rundown of what you need to know to ensure a safe sanding experience:
Personal Protective Equipment (PPE)
Wear safety goggles to shield your eyes from flying debris and fine dust particles that may be generated during sanding. A dust mask or a respirator is essential to protect your respiratory system from inhaling harmful dust. Additionally, wearing ear protection is recommended, as belt sanders can produce loud noise during operation. If your sander has a dust collection system, make sure to properly clamp the dust bag to the tool.
Workspace Setup and Clearing the Area
Before you begin sanding, ensure you have a well-organized and clutter-free workspace. Remove any potential hazards or obstacles that might interfere with your sanding process. Keep the area well-lit to have a clear view of your work and any potential dangers.
Understanding Hazards and Risks
Familiarize yourself with the potential hazards associated with belt sanders. The sander’s powerful motor and fast-moving abrasive belt can cause injury if not handled properly. Always keep your hands away from the sanding belt and use the designated handles for guiding the tool.
Avoid wearing loose clothing or jewelry that could get caught in the sander. Furthermore, be cautious when sanding near edges or corners to prevent accidental slips or sudden changes in material contact.
Remember, taking the time to set up your workspace correctly and being aware of the risks involved will greatly reduce the chances of accidents and ensure a safe and successful sanding process.
Preparing the Belt Sander for Use – Setting Up the Sandpaper
Before diving into your sanding project, it’s essential to properly prepare your belt sander. Taking the time to get it ready will ensure that your tool functions optimally and delivers the desired results. Let’s walk through the key steps to prepare your belt sander for use:
Choosing the Right Sandpaper
Selecting the appropriate sandpaper grit is crucial for achieving the desired level of smoothness and surface finish. Coarser grits, such as 40 or 60 grit, are ideal for heavy material removal or smoothing rough surfaces. On the other hand, finer grits, like 100 or 120 grit, are suitable for achieving a smoother finish on wood or other materials. For finishing touches and achieving a polished surface, even finer grits like 150 or 180 grit can be used.
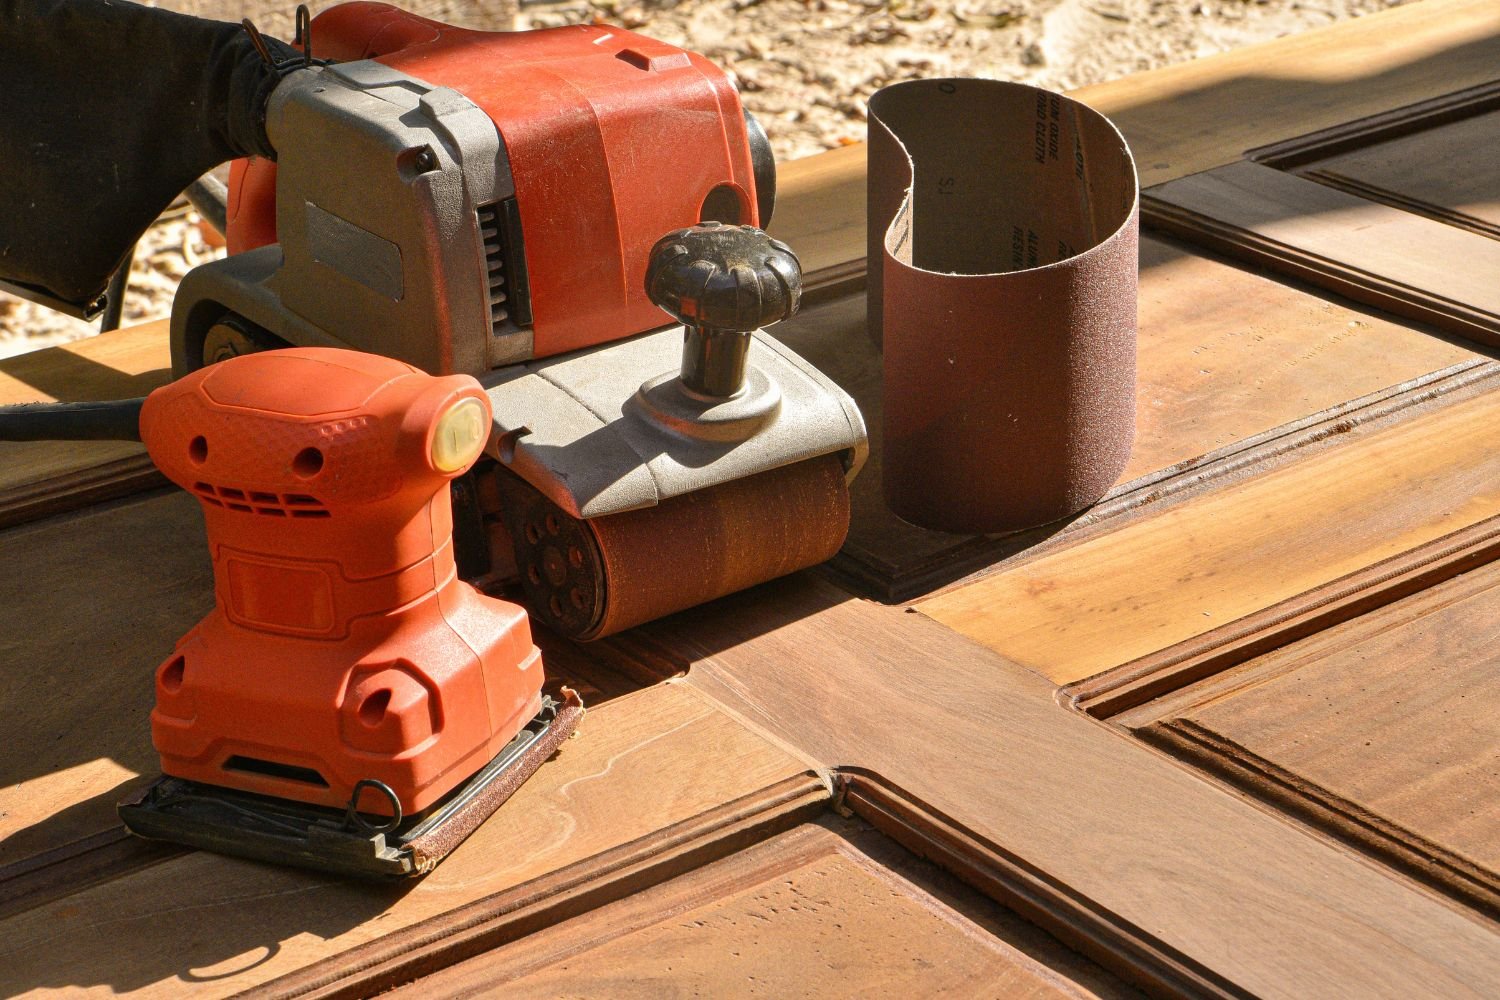
Installing and Aligning the Sanding Belt
To install the sanding belt, follow the manufacturer’s instructions provided with your belt sander. Typically, you’ll need to release the tension lever, allowing you to slide the sanding belt over the rollers. Once the new belt is in place, ensure it aligns correctly with the sander’s body to avoid uneven sanding and unnecessary wear on the belt.
Checking the Tension and Tracking of the Belt
Proper tension is essential for the belt sander’s efficient operation. After installing the belt, engage the tension lever again to tighten the belt securely. An overtightened belt can strain the sander’s motor and lead to premature wear. On the other hand, an under-tensioned belt may slip during use.
Also, check the tracking of the sanding belt to ensure it runs centered on the rollers. If it’s off-center, use the tracking adjustment knob (usually located on the side of the sander) to align the belt correctly. A well-tracked belt will prevent unnecessary wear and deliver consistent sanding results.
By taking the time to prepare your belt sander correctly, you’ll set the stage for a smooth and efficient sanding process, making your DIY projects and woodworking tasks much more enjoyable and rewarding.

How to Use a Belt Sander by Hand
Using a belt sander effectively requires skill and precision. Once your sander is properly prepared, follow these essential steps to achieve smooth and polished surfaces on different materials:
Proper Hand Placement and Grip Techniques
Before turning on the belt sander, position your hands strategically for better control and safety. Hold the sander’s main handle with one hand and use the auxiliary handle with the other for a steady and firm grip. Keep your fingers away from the trigger until you’re ready to start sanding.
To maintain stability, place even pressure on the sander, but avoid pressing too hard, as excessive pressure can lead to uneven sanding and damage the material. Allow the sander’s weight and the rotation of the abrasive belt to do most of the work for you.
Adjusting the Speed and Pressure
Most belt sanders come with variable speed settings, allowing you to adjust the sanding speed according to the task at hand. For heavy material removal or coarse sanding, opt for a higher, or full speed setting. When you need finer finishes or are working with delicate materials, lower the speed to achieve better control and precision.
As you move the belt sander across the material’s surface, keep the sander moving at a consistent speed and avoid lingering in one spot to prevent over-sanding. Remember, practicing a smooth, steady motion will yield more even results.
Handling Different Types of Materials
Different materials require different sanding approaches. When sanding a piece of wood, always follow the grain to avoid unsightly scratches. For metals, use a light touch and avoid excessive heat buildup. When sanding plastics, choose a lower speed setting and use a fine-grit sandpaper to prevent melting or warping.
Additionally, consider the material’s thickness and hardness. For thicker or harder materials, you may need to adjust the speed and pressure accordingly to prevent the belt sander from bogging down or damaging the surface.
By mastering proper hand placement, adjusting the speed and pressure, and understanding how to handle various materials, you’ll be well on your way to becoming proficient in using a belt sander for all your sanding needs. Remember, practice makes perfect, so don’t hesitate to experiment and refine your technique for the best results.
Sanding Techniques and Tips
To achieve professional-looking results with your belt sander, it’s essential to master various sanding techniques and be aware of some helpful tips. Let’s explore these techniques to ensure your sanding projects turn out smooth and flawless:
Sanding Motions: Parallel and Perpendicular
When using a belt sander, you have two primary sanding motions to choose from: parallel and perpendicular. For larger, flat surfaces, such as tabletops or wooden panels, use the parallel sanding motion. Keep the sander’s direction parallel to the grain of the material, moving it back and forth evenly across the surface. This technique ensures that you achieve smooth surface and uniform finish along the length of the workpiece.
On the other hand, for edges, use the perpendicular sanding motion. Hold the sander perpendicular to the grain of the material and move it in a straight, up-and-down motion. This technique is ideal for smoothing and shaping edges efficiently and precisely.
Tackling Edges, Corners, and Curves
Sanding edges, corners, and curves can be a bit challenging but is crucial for a well-finished project. When sanding edges, proceed carefully and avoid putting too much pressure on the sander, as this may cause uneven sanding or rounding of edges, especially on small pieces. For corners and tight spots, you can use a smaller handheld sander or sandpaper wrapped around a sanding block to ensure thorough and precise sanding.
To tackle curves, go with the grain of the material and move the sander in smooth, controlled motions. Take your time to prevent over-sanding in certain areas and maintain a consistent finish along the curve.
Creating Smooth and Even Surfaces
To achieve a smooth and even surface, start with a coarser grit sandpaper to remove any imperfections or rough spots. Gradually work your way up to finer grits, which will refine the surface and give it a polished look. Remember to always follow the same sanding motion throughout each grit to avoid inconsistencies.
Periodically check the surface with your hand to feel for smoothness and identify any uneven spots that may need further attention. Be patient and avoid rushing the sanding process to ensure a professional finish.
By mastering these sanding techniques and applying these tips, you’ll be able to tackle various sanding tasks with confidence and achieve impressive results. Remember to choose the appropriate grit, maintain a steady hand, and take your time to create smooth and even surfaces in all your projects.

Dealing with Common Issues
Using a belt sander can be a rewarding experience, but it’s not without its challenges. Here are some common issues you may encounter while using a belt sander and how to handle them effectively:
Preventing Sanding Marks and Streaks
Sanding marks like a gouge, scratch, or streak can mar the final appearance of your workpiece. These can be much more prevalent when using a belt sander compared to a random orbital sander or palm sander. To avoid this issue, practice using a light touch and consistent sanding motions. Apply even pressure across the entire surface, and avoid dwelling in one area for too long. Additionally, be mindful of the sandpaper’s grit; starting with a coarse grit and progressing to finer grits will help eliminate deeper scratches as you remove material and produce a smoother finish.
Avoiding Over-Sanding and Material Damage
Over-sanding can result in uneven surfaces and even damage to the material you’re working on. To prevent over-sanding, periodically check the workpiece’s surface with your hand to feel for smoothness. Once the desired level of smoothness is achieved, stop sanding to avoid removing excessive material.
When sanding thin materials or delicate surfaces, use a lighter touch to avoid wearing down the material too quickly. Additionally, be cautious when working on the edges of materials, as belt sanders can be aggressive in those areas.
Fixing Potential Problems
Belt sanders may encounter certain issues during their lifespan, such as belt tracking problems or belt slippage. If you notice your sanding belt isn’t running centered on the rollers, adjust the tracking knob to realign the belt properly. Regularly inspect the belt for signs of wear or damage, and replace it as needed to maintain optimal performance.
Furthermore, keep the sander’s vents and air intake clean from sawdust buildup to prevent overheating of the motor. Regular maintenance and cleaning of wood dust will extend the life of your belt sander and ensure its reliability for future projects.
By being mindful of these common issues and implementing the recommended solutions, you can enhance your sanding experience and achieve excellent results with your belt sander. Remember that practice and attention to detail are key to becoming proficient in using this powerful tool for all your sanding needs.

Advanced Techniques and Project Ideas
Once you have mastered the basics of using a belt sander, you can explore advanced techniques and take on exciting woodworking projects. Here are some ideas and tips to enhance your skills and achieve outstanding results:
Sanding for Different Woodworking Projects
A belt sander is a versatile tool that can be used for various woodworking projects. When working on larger surfaces, such as tabletops or wooden floors, the parallel sanding motion is perfect for achieving an even finish. For intricate designs or smaller items, like picture frames or wooden toys, use the perpendicular sanding motion to tackle corners and edges with precision.
Consider the type of wood you’re working with as well. Hardwoods may require slower sanding speeds and finer grits, while softwoods can often be sanded more quickly. Experiment with different techniques and grits to find what works best for each project.
Refinishing Furniture with a Belt Sander
Refinishing old furniture can breathe new life into cherished pieces. When refinishing furniture with a belt sander, start by removing the old finish and any imperfections with a coarser grit sandpaper. Take care around intricate details and be patient to avoid removing too much material.
As you progress to finer grits, the sander will help reveal the natural beauty of the wood grain. Ensure the surface is smooth and even before applying a new finish, such as stain, paint, or varnish. The belt sander’s efficiency will save you time and effort during the refinishing process and give you a stellar finish that is apparent from across the room.
Achieving a Professional Finish
To achieve a truly professional finish, pay attention to the details. After the belt sanding process is complete, consider using a hand sanding block with fine sandpaper to touch up areas that may require more delicate sanding. This hand-finishing step will help eliminate any remaining sanding marks and ensure a flawless surface.
Once sanding is complete, thoroughly clean the workpiece to remove any dust or debris before applying the final finish. A clean surface will allow the finish to adhere evenly and create a beautiful, polished appearance.
Remember, achieving a professional finish is a combination of skill, patience, and attention to detail. With practice and dedication, you can use a belt sander to elevate your woodworking projects and create stunning pieces that showcase your craftsmanship.
These advanced techniques and project ideas will open up a world of possibilities for you as you continue to improve your belt sander skills. Embrace the creativity and challenge of new projects, and enjoy the satisfaction of creating beautiful woodworking pieces with your belt sander.
Final Thoughts
Congratulations, you have now learned the ins and outs of using a belt sander! Armed with this knowledge, you are well-equipped to take on a wide range of woodworking projects and achieve professional-looking results. Remember, the key to success lies in practicing the proper techniques and following essential safety precautions.
As you venture into the world of sanding, keep in mind that patience and attention to detail are your allies. Whether you’re refinishing furniture, working on intricate designs, or smoothing out rough surfaces, the belt sander can be a powerful ally in your toolbox.
Always begin with the right sandpaper grit, adjust the speed and pressure accordingly, and practice parallel and perpendicular sanding motions for optimal results. Take extra care around edges, corners, and curves, as they require a delicate touch. And most importantly, prioritize safety by wearing appropriate protective gear and keeping your workspace clear and organized.
Now, with this comprehensive guide at your fingertips, go forth and unleash your creativity. Embrace the challenge, hone your skills, and enjoy the satisfaction of crafting remarkable woodworking projects with the help of your trusty belt sander.


