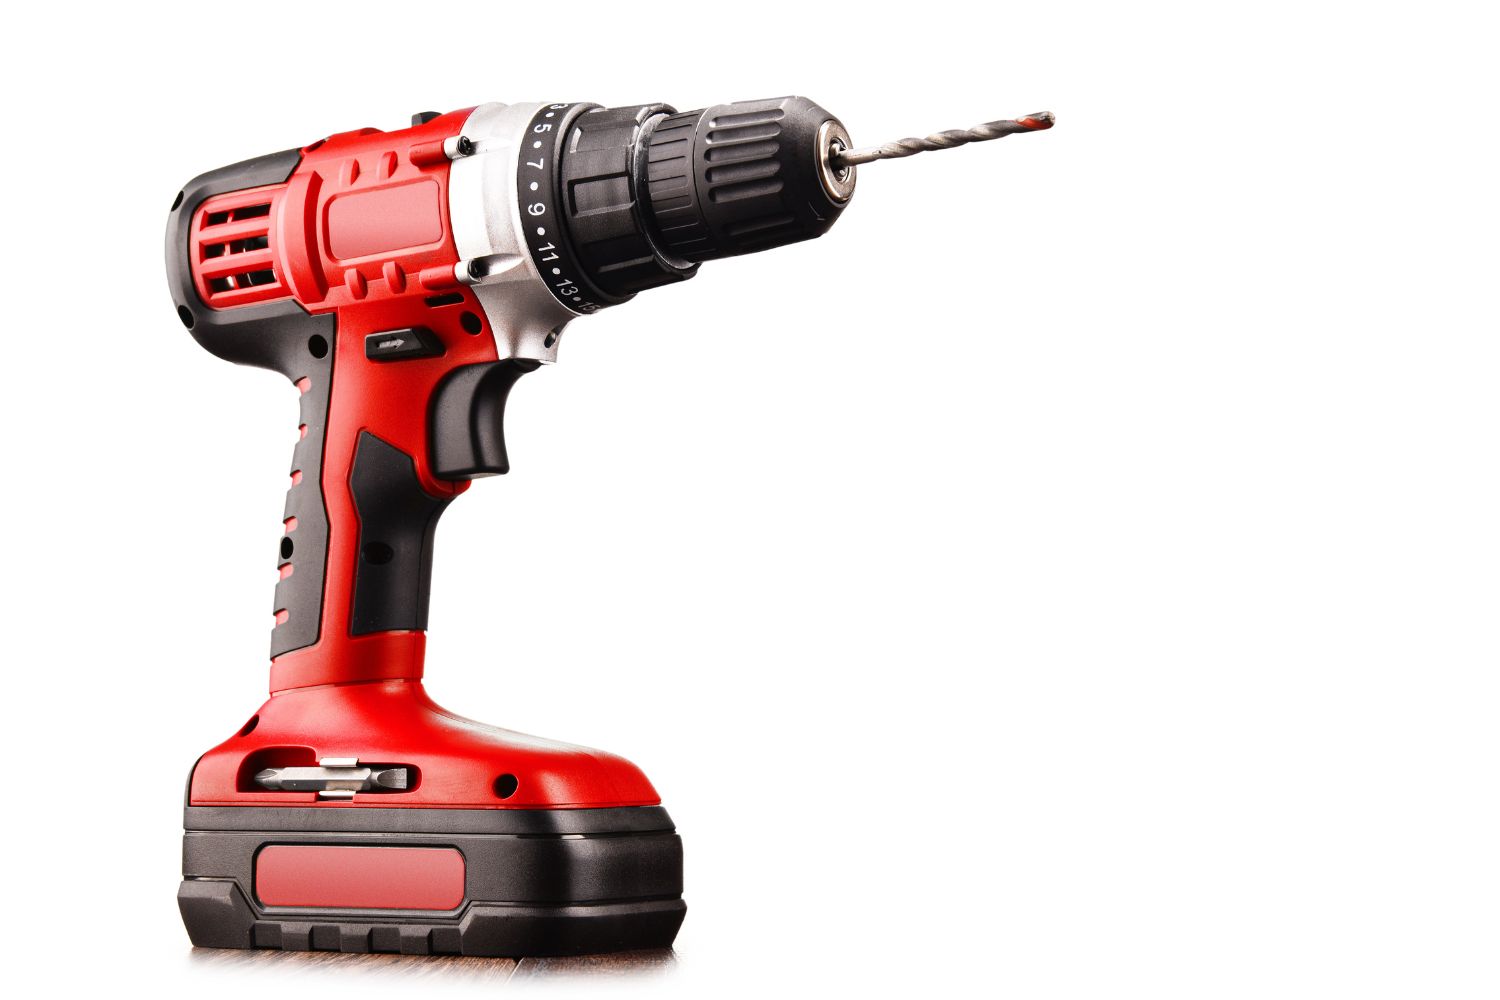
How to Use a Cordless Drill: Pro Tips for a Powerful Tool
Cordless drills are versatile tools that play a crucial role in do-it-yourself (DIY) projects, making tasks like drilling holes and driving screws easier and more efficient. In this article, we’ll embark on a journey to help you master the art of using a cordless drill effectively. Whether you’re a beginner or seeking to refine your skills, this step-by-step guide will provide you with valuable insights on proper grip, drilling techniques, and driving screws accurately.
As we delve into the world of cordless drills, it’s important to recognize their significance in various projects around the house, from assembling furniture to building shelves. To start, we’ll explore the basic components of a cordless drill, such as the drill body, chuck, battery, and speed settings, demystifying their functions and ensuring you’re well-acquainted with your tool of choice. Moreover, we’ll discuss the different types of cordless drills available and their applications, helping you select the right one for your specific needs.
By the end of this guide, you’ll be equipped with the knowledge and skills needed to tackle drilling and screw-driving tasks with confidence and precision. So, let’s begin the journey toward mastering your cordless drill, uncovering valuable tips and techniques along the way.
Getting Started: Understanding Your Cordless Drill
When it comes to using a cordless drill effectively, it’s essential to start with a solid understanding of the tool itself. Cordless drills are versatile devices designed to make drilling and driving tasks more manageable. Let’s break down the key components that make up a cordless drill:
- Drill Body: The main part of the tool that houses the motor, gearbox, and controls. It’s the body of the drill that you hold while operating the tool.
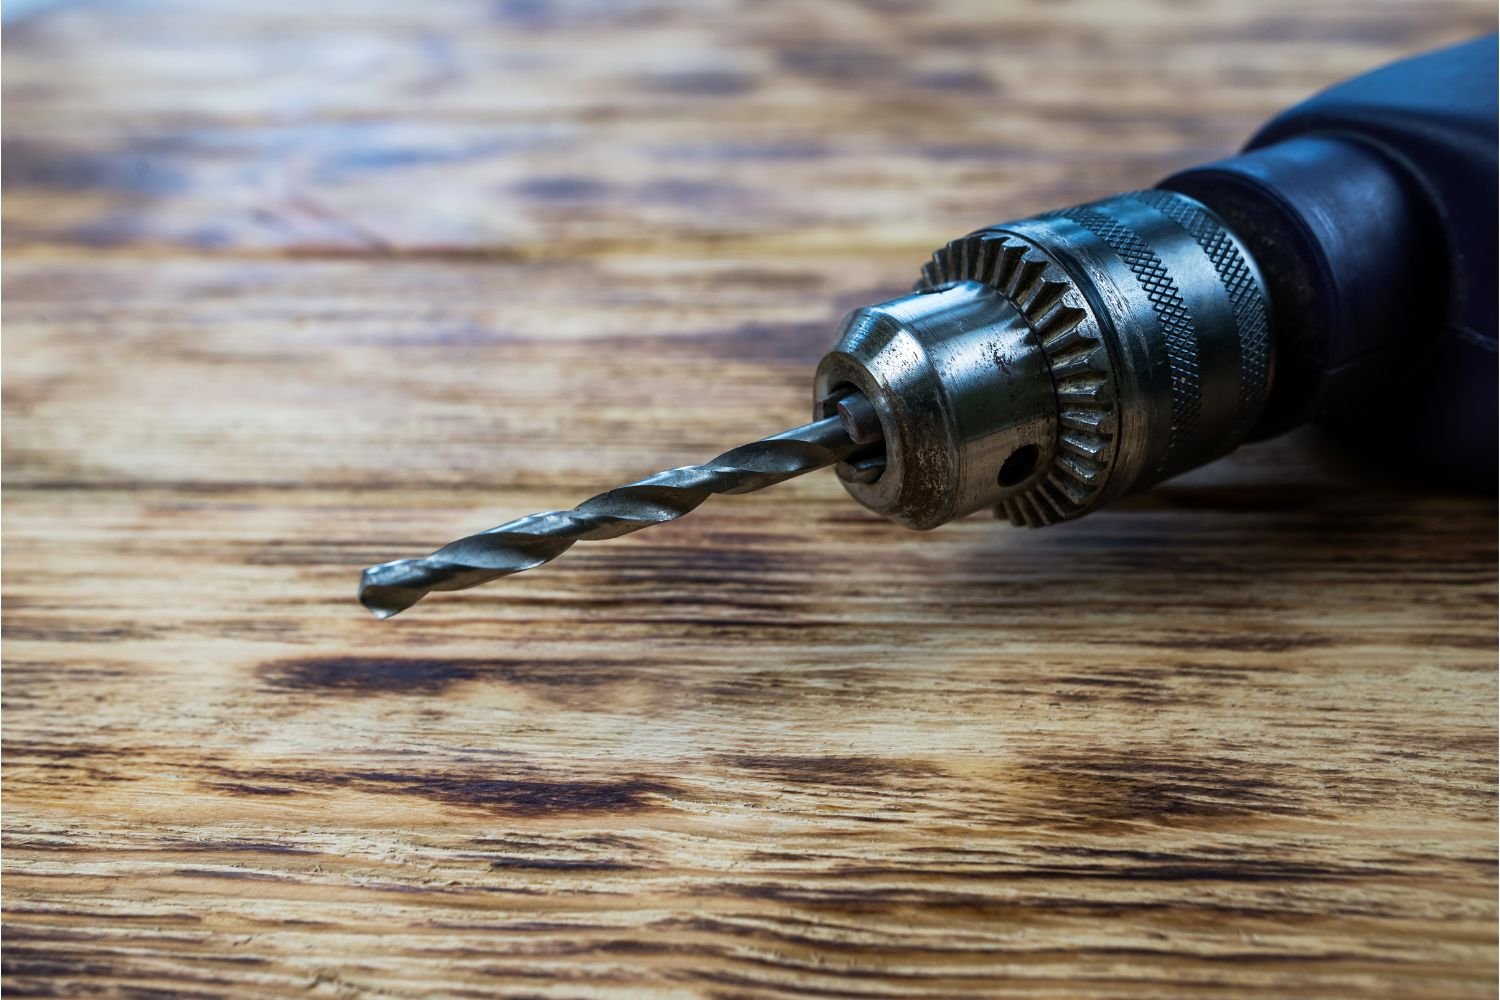
- Chuck: The chuck is the mechanism at the front of the drill where you insert and secure different drill bits or screwdriver bits. It’s crucial for holding the bit securely in place during operation.
- Battery: Cordless drills are powered by rechargeable batteries. The battery provides the necessary energy to the motor for drilling and driving. Make sure your battery is charged before starting any project.
- Speed Settings: Most cordless drills come with multiple speed settings. Higher speeds are suitable for drilling through softer materials like wood, while lower speeds are better for tougher materials like metal.
In addition to understanding these components, it’s important to know that there are different types of cordless drills available. Drill/drivers are versatile tools that can both drill holes and drive screws. Impact drivers are specialized tools designed primarily for driving screws, especially larger ones and those into harder materials. Choosing the right type of drill for your task is essential for achieving optimal results.
Now that we’ve laid the groundwork, we can move on to exploring the techniques that will help you become a proficient cordless drill user.
Mastering Drill Techniques: Pro Tips on How to Use a Cordless Drill
Now that you’re familiar with the essential components of your cordless drill, it’s time to delve into the techniques that will make your drilling endeavors more efficient and precise. Proper drill techniques ensure that your holes are clean, accurate, and well-suited to the materials you’re working with.
Proper Grip and Stance
Before you start drilling, ensure you have a firm and comfortable grip on the drill. Hold it with both hands, placing one hand on the handle and the other on the body for stability. Stand with your feet shoulder-width apart to maintain balance and reduce strain on your wrists.
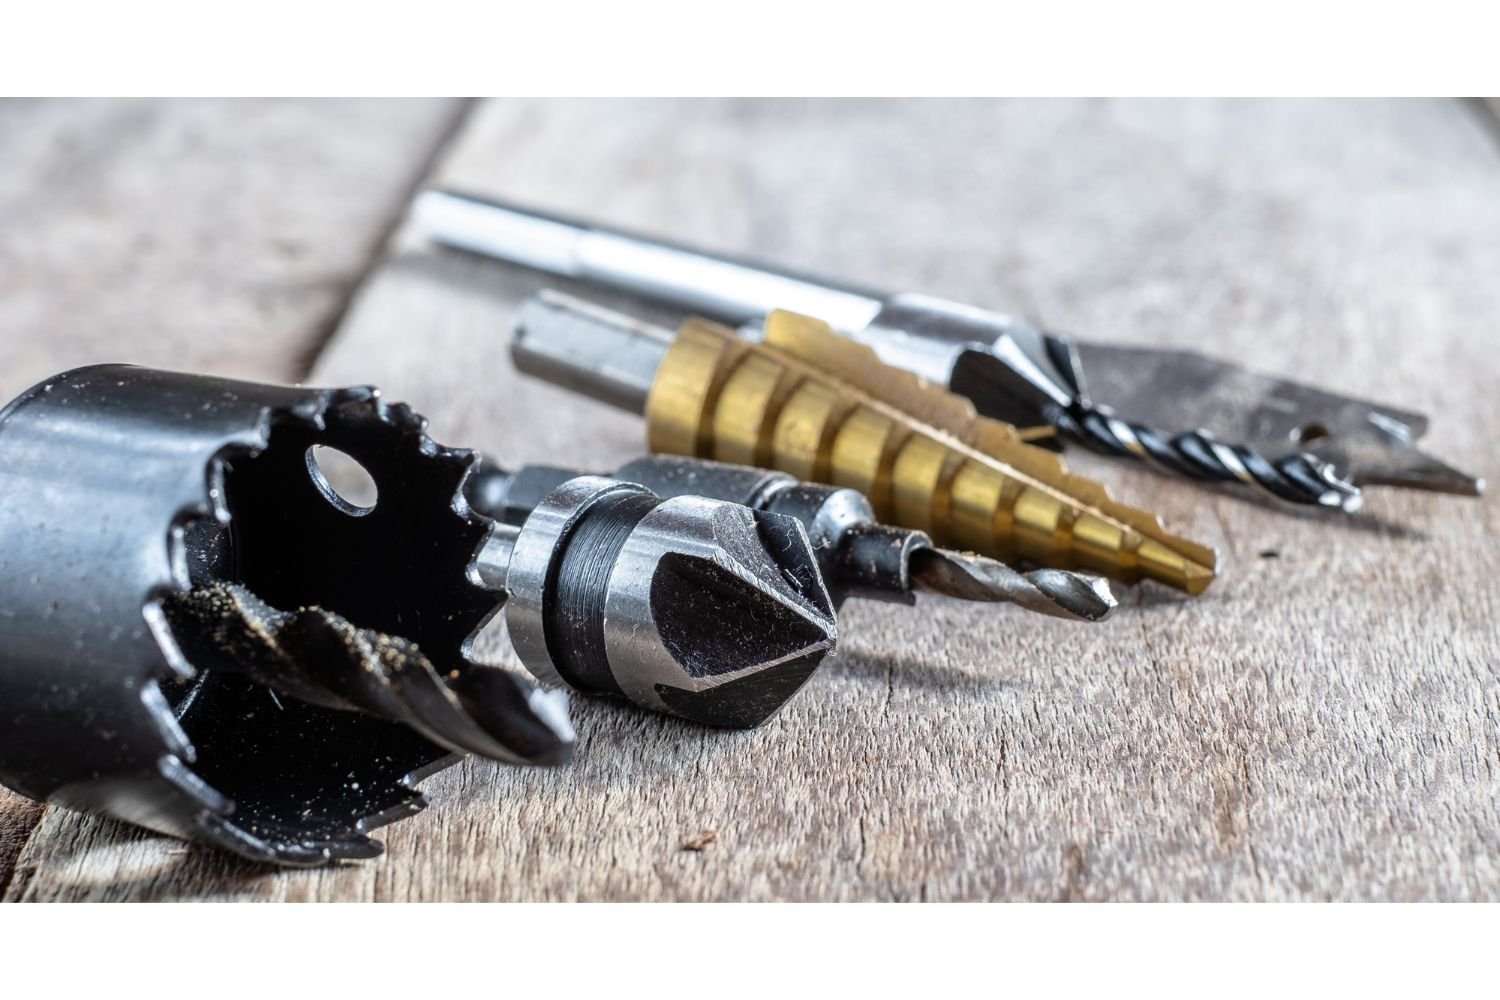
Selecting the Right Drill Bit
Different materials require different types of drill bits. Use twist bits for wood, metal bits for metal, and masonry bits for concrete or brick. For better accuracy, consider using a pilot hole (a small hole drilled before the main hole) when drilling into hard materials.
Step-by-Step Drilling Techniques
Begin by marking the spot where you want to drill with a pencil or a center punch. Place the drill bit at the marked spot and apply light pressure as you start to drill a hole. Let the drill’s power do the work—avoid pressing too hard. Keep the drill straight to prevent wobbling and ensure a clean hole.
Adjust the speed setting according to the material you’re drilling into. Higher speeds work well for softer materials like wood, while slower speeds are suitable for metal. As you near the end of the drilling, reduce the pressure to prevent splintering or breaking through the material.
Mastering these drill techniques will allow you to create precise holes with ease. In the next section, we’ll move on to the art of driving screws effectively, an equally important skill for any DIY enthusiast or homeowner.
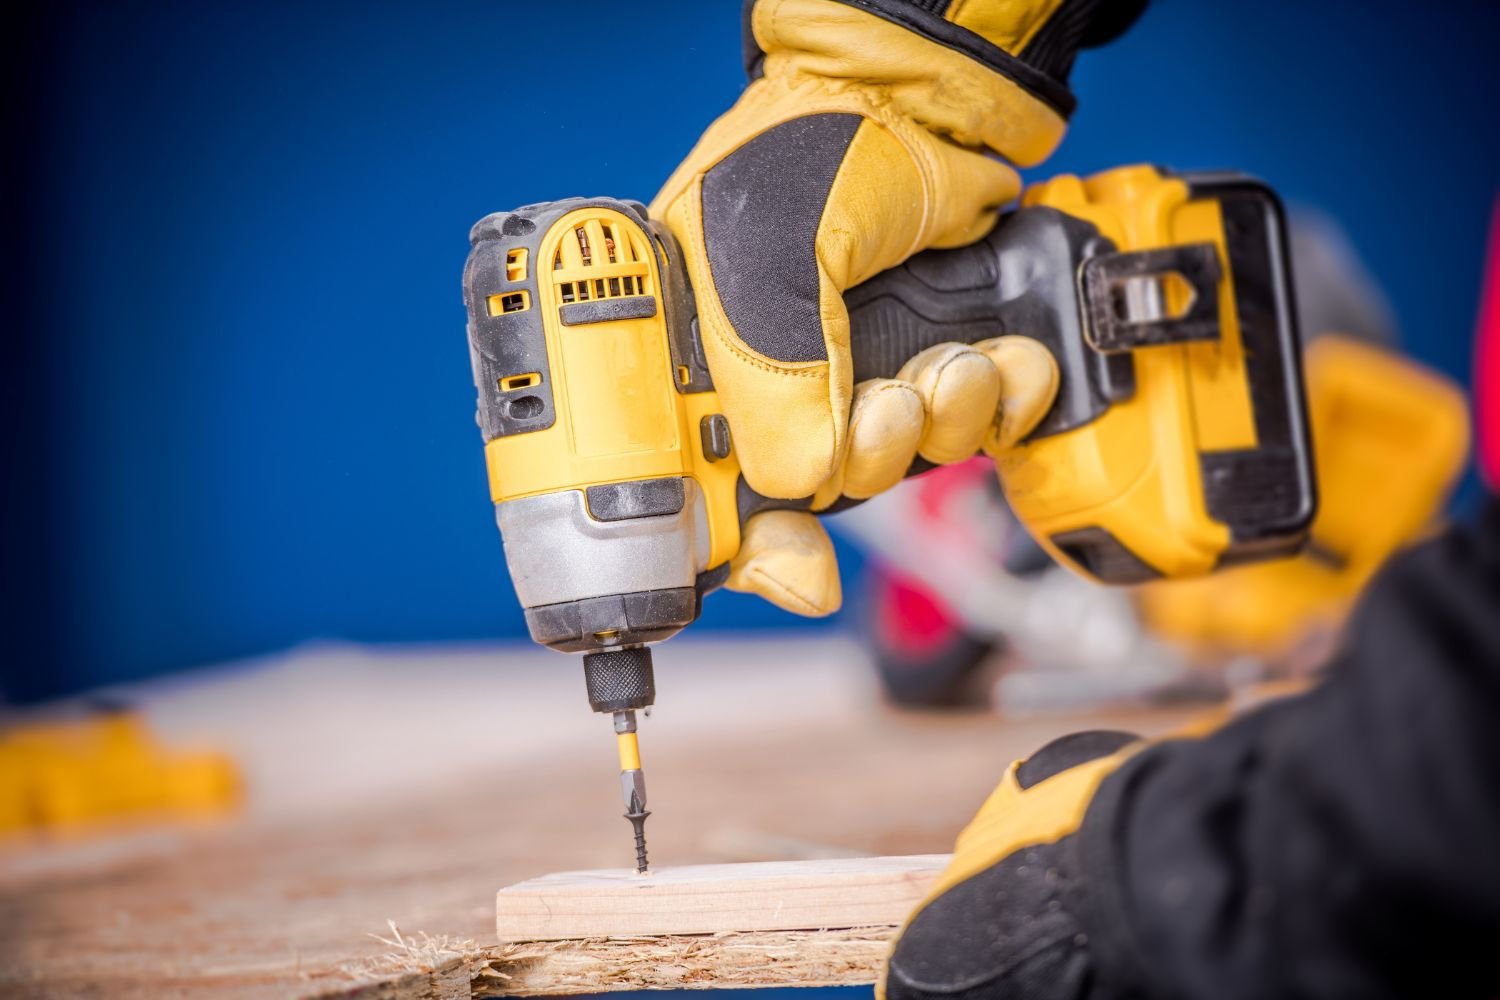
Driving Screws Like a Pro: Learn How to Use a Drill as a Screwdriver
Driving screws is an essential skill that goes hand in hand with drilling. Whether you’re assembling furniture or securing fixtures, knowing how to drive screws accurately will yield sturdy and professional-looking results. Let’s explore the steps to become a proficient screwdriver:
Choosing the Correct Screwdriver Bit
Different screw types require specific screwdriver bits. Phillips, flathead, and Torx are common types. Match the bit to the screw head to ensure a secure fit and prevent damage.
Setting Torque and Using the Clutch
Many cordless drills come equipped with a clutch setting. Adjusting the clutch controls the amount of force applied while driving screws. This prevents over-tightening and stripping the screw or damaging the material. Start with a lower setting and increase it gradually until the screw is flush with the surface.
Preventing Over-Tightening
It’s important not to overtighten screws, as this can lead to damage or weakening of the material. Once the screw is snug and flush, stop applying pressure. If your drill lacks a clutch, practice a gentle touch to avoid overexertion.
Achieving Flush Screw Placement
To ensure a professional finish, make sure the screw sits flush with the surface. This prevents the screw from sticking out and marring the appearance. Adjust your technique and clutch setting as needed to achieve this seamless result.
By mastering these screw-driving techniques, you’ll be able to confidently secure screws in a variety of materials, contributing to the overall success of your projects. In the upcoming section, we’ll explore advanced tips and troubleshooting methods to enhance your cordless drill skills even further.
Advanced Tips and Troubleshooting When Using a Power Drill
As you gain confidence in using your cordless drill, you’ll encounter various materials and situations that demand a deeper understanding of the tool. Let’s delve into advanced tips and troubleshooting strategies that will elevate your drilling and driving expertise:
Handling Challenging Materials
- Wood: When drilling into wood, choose a drill bit slightly smaller than the screw to ensure a snug fit. To prevent splintering, start with a pilot hole. Hold the drill steady to create straight holes.
- Metal: Use cutting oil to lubricate the drill bit when working with metal. This reduces heat and friction, extending the life of the bit. Secure the metal to prevent slipping and ensure accurate drilling.
- Masonry: For drilling into concrete or brick, use a masonry bit. Apply firm, consistent pressure and use a hammer drill mode if available. Keep the drill perpendicular to the surface for precise holes.
Troubleshooting Common Issues
- Stripped Screws: If a screw gets stripped, use a rubber band or a bit of steel wool between the screw head and the bit for better grip. Alternatively, use a screw extractor to remove the stripped screw.
- Stuck Drill Bit: If a drill bit gets stuck, stop the drill and reverse its rotation. This can help loosen the bit. If that doesn’t work, carefully grip the chuck with pliers and turn it counterclockwise.
Maintaining and Caring for Your Drill
- Regularly clean the chuck and drill body to remove debris that could affect performance.
- Store your cordless drill and batteries in a dry, cool place to prolong their lifespan.
- Periodically inspect components for wear and replace them as needed.
With these advanced techniques and troubleshooting methods, you’ll be well-prepared to handle a wide range of projects and challenges.
Final Thoughts
Through this guide, you’ve gained essential insights into proper grip, drilling techniques, and driving screws with precision. By understanding the components of your cordless drill, selecting the right tool for the task, and practicing advanced techniques, you’ve empowered yourself to tackle DIY projects confidently.
Remember, proficiency comes with practice. As you embark on various projects, put your newfound skills to use and refine them over time. Whether you’re assembling furniture, constructing shelves, or engaging in home improvements, your ability to create clean holes and secure screws will contribute to the success and satisfaction of your endeavors.
Keep exploring, experimenting, and enhancing your skills. With each project you undertake, you’ll find yourself becoming more adept at using your cordless drill, and your confidence in tackling new challenges will only grow.
Frequently Asked Questions
What is a cordless drill?
A cordless drill is a power tool that is used for drilling holes and driving screws. It is a versatile tool that does not require a power cord and is powered by a rechargeable battery.
How does a cordless drill work?
A cordless drill works by converting electrical energy from the battery into rotational force. When the trigger of the drill is pressed, the rotational force is transferred to the drill bit or driver bit, allowing it to drill holes or drive screws.
How do I choose the right drill bit?
When choosing a drill bit, you should consider the material you are drilling into and the size of the hole you need. Different materials require different types of drill bits, such as wood, metal, or masonry. The size of the hole will depend on the diameter of the drill bit.
Can I use a corded drill bit with a cordless drill?
Yes, you can use a corded drill bit with a cordless drill. However, it is important to ensure that the drill bit is compatible with your drill’s chuck size. Most cordless drills have a keyless chuck, which allows you to easily change drill bits.
Do I need to use a pilot hole before drilling?
It is recommended to drill a pilot hole before drilling into certain materials, such as hardwood or metal. A pilot hole helps to guide the drill bit and prevents the material from splitting or the drill bit from slipping.
How do I insert a drill bit into the chuck of a cordless drill?
To insert a drill bit into the chuck of a cordless drill, you need to follow these steps:
- Make sure the drill is turned off and unplugged.
- Hold the drill with one hand and turn the chuck counterclockwise to loosen it.
- Insert the drill bit into the chuck and hold it firmly.
- Turn the chuck clockwise to tighten it and secure the drill bit in place.
How do I use a cordless drill to drive a screw?
To drive a screw with a cordless drill, you need to follow these steps:
- Select a driver bit that matches the screw you’re using.
- Insert the driver bit into the chuck of the drill and tighten it.
- Hold the drill with one hand and position the screw on the material.
- Press the trigger of the drill to start driving the screw.
- Release the trigger once the screw is fully driven into the material.
What safety precautions should I take when using a cordless drill?
When using a cordless drill, it is important to take the following safety precautions:
- Wear safety glasses to protect your eyes from flying debris.
- Avoid wearing loose clothing or jewelry that can get caught in the drill.
- Keep your fingers and hands away from the drill bit or driver bit.
- Do not force the drill or use excessive pressure when drilling.
- Always use the correct drill bit or driver bit for the task.
What is the difference between a drill and a driver?
The main difference between a drill and a driver is the rotational force they apply. A drill applies rotational force to drill holes, while a driver applies rotational force to drive screws. Some cordless drills have a drill setting and a driver setting, allowing you to switch between drilling and driving modes.
How do I maintain a cordless drill?
To maintain a cordless drill, you should:
- Keep the drill clean and free of dust and debris.
- Store the drill in a dry place to prevent moisture damage.
- Keep the battery charged and avoid overcharging it.
- Replace worn-out drill bits or driver bits.
- Keep an extra battery pack on hand for longer usage.